
11 Tips for Milky Way Photography in Labuan Bajo for Sharp and Beautiful Photos

Labuan Bajo Productions Editorial Desk
July 30, 2026
10 min read
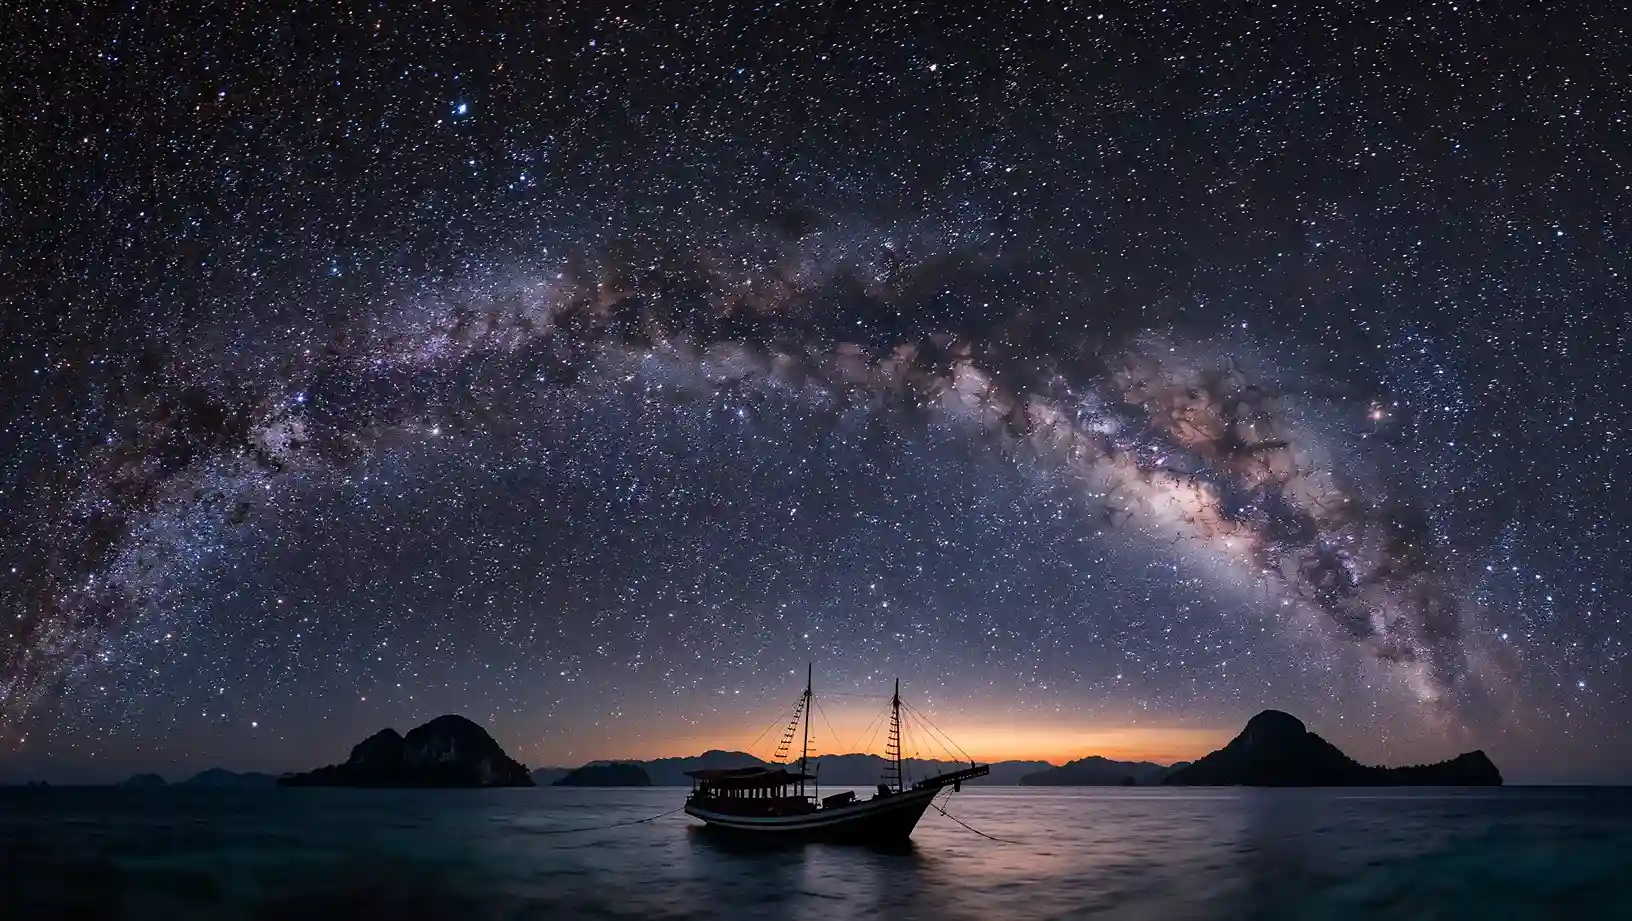
The Milky Way in Labuan Bajo has become one of the most sought-after subjects for night photography. Thanks to relatively dark skies and minimal light pollution in certain spots, this region offers the chance to capture the galaxy against a backdrop of islands, ocean, or traditional phinisi boats, making the resulting photos feel truly one of a kind.
So, how exactly do you photograph the Milky Way in Labuan Bajo so the results turn out sharp and still look aesthetic? This article covers various tips for Milky Way photography in Labuan Bajo, starting from choosing the best time, picking the right location, adjusting camera settings, all the way to getting the most out of your shots during the trip.
Key Takeaways
- Tips for Milky Way photography in Labuan Bajo start with choosing the dry season, a night during the New Moon phase, and a location with minimal light pollution.
- Use a sturdy tripod, a wide lens with a large aperture, and manual camera settings so your Milky Way photos in Labuan Bajo come out sharper.
- Apply manual focus, add a foreground element such as a phinisi boat or hill, and save your photos in RAW format for the best possible results.
- Make use of astronomy apps and arrive early at your location so you can plan your composition while also knowing the best time to photograph the Milky Way in Labuan Bajo.
- If you’d rather enjoy the trip without fussing over camera settings, use a professional documentation service from Labuan Bajo Productions to capture the Milky Way in Labuan Bajo with quality results.
Tips for Milky Way Photography in Labuan Bajo
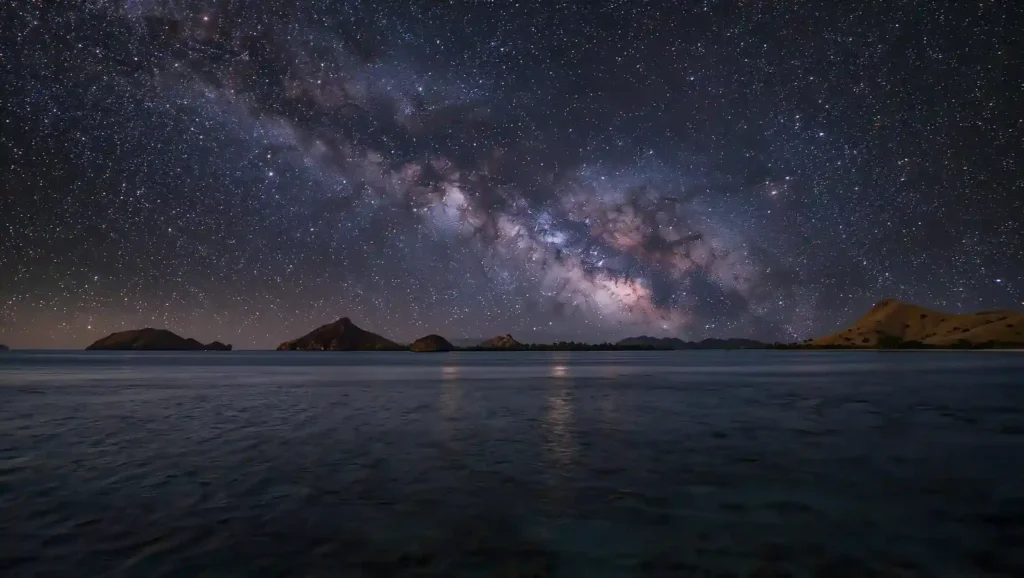
Photographing the Milky Way in Labuan Bajo takes more than just a good camera. You also need to pay attention to timing, sky conditions, location choice, and camera settings so the galaxy can be captured clearly and sharply.
Here are several tips for Milky Way photography in Labuan Bajo that you can apply for better results:
1. Choose the Best Time During Dry Season
Pick the dry season between April and October to increase your chances of clear skies when photographing the Milky Way in Labuan Bajo. During this period, rainfall is generally lower, meaning fewer clouds covering the galaxy compared to the rainy season. This condition makes it easier for your camera to capture star detail and the Milky Way’s core.
Aside from choosing the right season, also pay attention to timing your shoot for when the sky is already completely dark. If you’re on a sailing trip through Komodo National Park, take advantage of the moment right after evening activities wrap up, since sky conditions usually become ideal for photography around then. By choosing the right timing from the start, your chances of getting sharp results go up significantly.
2. Avoid Shooting When the Moon Is Too Bright
Choose a night during the New Moon phase so the Milky Way appears more clearly in Labuan Bajo’s sky. Moonlight that’s too bright can reduce the sky’s contrast, making the galaxy’s core harder to see, especially when shooting with long exposure settings. As a result, photos often end up looking washed out even when the weather is clear.
Before heading out, take some time to check the moon phase calendar through an astronomy app or weather app. This simple step helps you pick a more ideal travel date for Milky Way hunting. That way, you won’t end up disappointed by unfavorable sky conditions once you arrive at your location.
3. Find a Location With the Lowest Possible Light Pollution
Choose a spot far from artificial light so the Milky Way can be seen more clearly when shooting in Labuan Bajo. Light from hotels, harbors, or residential areas will make the sky appear brighter, reducing galaxy detail. The darker the surroundings, the easier it is for your camera to capture starlight.
Some locations often chosen by photographers for their darker sky conditions include:
- Padar Island
- Kelor Island
- Pink Beach
- Kalong Island
- The waters of Komodo National Park during a liveaboard trip
If you’re staying overnight on a boat during a sailing trip, conditions out at sea usually offer darker skies compared to areas closer to Labuan Bajo itself. This is one reason why many of the best Milky Way photos in this region are taken while the boat is anchored at night.
4. Use a Sturdy Tripod
Use a sturdy tripod to keep your camera stable throughout the Milky Way shooting process. Night sky photography requires shutter speeds of ten to several tens of seconds, so even a slight vibration can blur your results. Because of this, a tripod is nearly always essential gear in astrophotography.
If you’re shooting from a phinisi boat, make sure the tripod is placed on a stable surface and wait for moments when the boat’s movement is relatively calm. Also, activate a two-second timer or use a remote shutter so the camera doesn’t shift when the shutter button is pressed. This approach helps produce sharper photos without needing to reshoot multiple times.
5. Use a Wide Lens With a Large Aperture
Use a wide lens with a large aperture so your camera can capture more light from the night sky. A wide-angle lens also makes it easier to include Labuan Bajo’s landscape in your composition, so the photo isn’t just focused on the galaxy alone. The result is an image that looks more balanced and has greater visual depth.
For mirrorless or DSLR cameras, lenses in the 14mm, 16mm, up to 24mm range with an aperture of f/2.8 or wider are commonly used by photographers. This combination of focal length and aperture helps record Milky Way detail without needing excessively high ISO. As a result, noise in your photos can also be reduced.
Read more: Various Types of Photo and Video Documentation You Should Know for Every Moment
6. Use Manual Camera Settings
Use Manual mode so you can adjust exposure according to sky conditions when photographing the Milky Way in Labuan Bajo. Automatic modes often struggle to read night lighting correctly, leading to photos that are either too dark or too bright. Manual settings give you more consistent control for producing quality night sky photos.
As a starting point, you can use the following settings:
- Manual mode (M)
- Aperture: f/2.8
- ISO: 1600–3200
- Shutter speed: 15–20 seconds
- White balance: 3500–4000K
- Manual focus set to infinity
- RAW format
These settings can still be adjusted depending on weather conditions, how dark your location is, and the capabilities of your camera. Don’t hesitate to try several exposure combinations until you find the one that best suits the conditions on the ground.
7. Use Manual Focus for Sharper Results
Use manual focus, since autofocus generally struggles to work properly in very dark sky conditions. When the camera can’t lock onto a clear focus point, your Milky Way photos may end up looking blurry even if the exposure settings are correct. That’s why many photographers choose to set focus manually before starting to shoot.
Point your focus toward a very distant object, or use the infinity mark on your lens if available. Once focus is properly set, avoid turning the focus ring again during the rest of the shooting session. This approach helps maintain sharpness even as you capture several frames with different compositions.
8. Add a Foreground Element for a More Interesting Photo
Add a foreground element so your Milky Way photo in Labuan Bajo feels more alive and has more dimension. Having an object in the front of the frame helps provide scale while also making the composition feel more balanced. Without a foreground, night sky photos can sometimes look flat even if the galaxy itself was captured clearly.
In Labuan Bajo, you can make use of various natural elements or distinctive local objects as foreground, such as:
- Phinisi boats
- Hills
- Beaches
- Trees
- Cliffs
- Island silhouettes
Choose a foreground that isn’t too busy so attention stays focused on the Milky Way as the main subject. With the right composition, your photos will look natural without needing excessive editing afterward.
9. Make Use of Astronomy Apps Before Heading Out
Use an astronomy app to know the Milky Way’s position before starting your shooting session. This kind of app helps you plan your camera’s direction, so you don’t have to guess where the galaxy’s core will appear once you’re already on location. Careful planning also makes your shooting time more efficient.
Some apps commonly used by photographers include:
- PhotoPills
- Stellarium
- Sky Guide
Through these apps, you can view information such as:
- The Milky Way core’s position
- The galaxy’s direction
- The best hours for it to appear
- Moon phase
- Sky conditions
With this information, you can determine your location and photo composition even before the sun sets.
10. Arrive Early Before the Sky Gets Dark
Arrive around 30 to 60 minutes before the sky is completely dark so you have time to set up all your gear. Many travelers only show up once night has already fallen, forcing them to rush to find a spot, set up the tripod, and adjust camera settings. This often causes the best moment to simply pass by.
The time before nightfall can also be used to check the Milky Way’s direction, determine your foreground, and try out different compositions. Once the sky starts getting dark, you’ll already be ready to shoot without needing many more adjustments. The whole shooting process becomes more comfortable and efficient this way.
11. Save Your Photos in RAW Format
Save your photos in RAW format so the editing process has more flexibility. RAW files store far more information compared to JPEG, meaning night sky detail stays preserved even when you adjust exposure, white balance, or shadows afterward. This matters a lot since Milky Way photos almost always need some refinement after shooting.
Even though the file size is larger, the quality you get is also much better for editing purposes. Afterward, you can reduce noise, boost the galaxy’s contrast, and adjust sky colors without losing significant detail. The final result will look cleaner and more natural.
Read more: 9 Tips for Sunset Photography in Labuan Bajo for Better Results
Capture the Milky Way in Labuan Bajo With Professional Documentation From Labuan Bajo Productions
Photographing the Milky Way in Labuan Bajo does require careful preparation. From choosing the dry season, picking a night with the right moon phase, finding a location with minimal light pollution, using manual camera settings, to arranging a composition with a fitting foreground, every step plays a role in producing the best possible night sky photo. However, if you’d rather enjoy your trip without having to fuss over camera settings all night, using a professional documentation service can be a far more practical choice.
Labuan Bajo Productions is here as one of the professional photography service providers in Labuan Bajo, ready to document various moments of your journey, including Milky Way hunting whenever sky conditions allow. Backed by an experienced team of photographers who understand the best spots, ideal shooting times, and night sky photography techniques, we’re ready to help produce quality documentation without getting in the way of your holiday experience. So, if you want to bring home the best possible results, contact our team and book our professional Labuan Bajo documentation service, so you can enjoy every moment of your trip while your Milky Way documentation is handled by professional photographers.

Related Article
10 Tips for Taking Photos of Misty Mountain Landscapes in Flores
Mist is one of the elements you will often encounter
Mist is one of the elements you will often encounter when exploring the highlands of Flores. In Wae Rebo, Ruteng,

10 Tips for Taking Couple Photos in Labuan Bajo Without Looking Awkward
A trip to Labuan Bajo as a couple is something
A trip to Labuan Bajo as a couple is something you will naturally want to capture, but not every couple

Golden Hour vs Blue Hour in Labuan Bajo: Which Is Better for Photography?
If you are planning a trip documentation session in Labuan
If you are planning a trip documentation session in Labuan Bajo, choosing the right time for photos is just as